Originalbaby Crib Assembly Instructions: Step-by-Step Guide
The Originalbaby cribs comply with European safety standards for infant products. These cribs are certified under the following standards:
- UNE-EN 1130-1:1996
- UNE-EN 1130-2:1996
Usage and Maintenance Conditions for the Originalbaby Crib
- Placement on a Level Floor: Ensure the crib is always placed on a flat, level surface to avoid instability.
- Supervision of the Baby: Never leave the baby unsupervised near the crib.
- Securing the Crib: Always lock the wheels when the baby is not being supervised to prevent accidents.
- Component Inspection: Ensure that the crib has no broken or missing parts before use.
- Assembly Device Adjustment: Tighten all screws properly to prevent the baby from getting caught on clothing or accessories, which could be a strangulation risk.
- Exclusive Use of the Wooden Frame: The crib's bedding must not be used without the corresponding wooden frame.
- Maximum Mattress Height: Do not exceed the maximum height indicated on the crib's label. The mattress should be at least 20 cm below the upper edge of the sides in the highest position.
- Heat Hazards: Keep the crib away from heat sources (radiators, electric or gas heaters), as these pose a fire risk.
- For Older Children: Once the baby can sit, kneel, or stand up on their own, the crib is no longer suitable for use.
Materials and Composition of the Originalbaby Crib
The Originalbaby crib is made from high-quality materials:
- Beech wood
- 4mm MDF
- Plastic wheels
- Non-toxic paints and varnishes
List of Parts and Components for Assembly
Main Parts:
- 2 Wooden side panels
- 4 Cross beams of 85 cm (2 with through holes)
- 2 Cross beams of 50 cm
- 1 Crib cover
- 1 Anti-choking mattress
- 1 Slatted frame (4mm MDF plate)
Hardware Bag:
- 4 Plastic sleeves for 12 mm holes
- 4 Locking wheels
- 12 Screws M6x45
- 12 Dowels M6x14
Step-by-Step Instructions for Assembling the Crib
Step 1: Attaching the Wheels
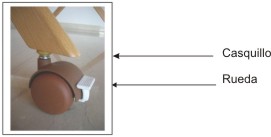
Place the plastic sleeves in the holes of the wheels and then attach the wheels to the sleeves. Make sure they are properly secured and that the brakes work correctly.

Step 2: Attaching the Cross Beams
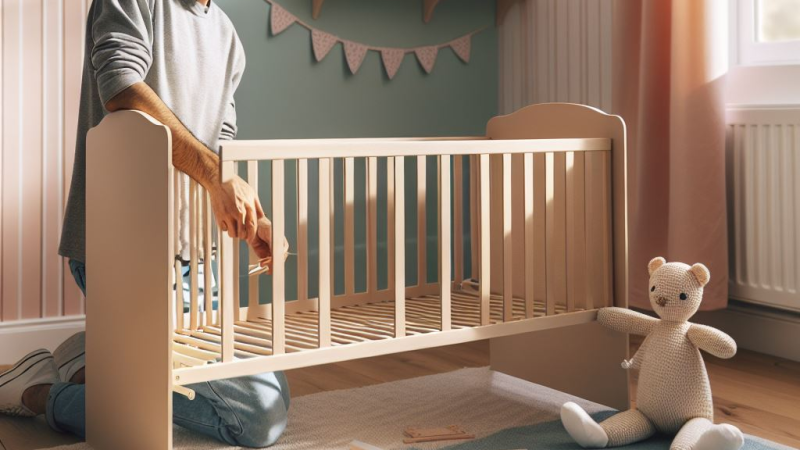
Use the M6x45 screws to secure the 4 cross beams to the wooden side panels. Ensure that the dowels face inward. Tighten all screws properly. The 85 cm and 50 cm beams should be correctly aligned.

Step 3: Attaching the Wooden Side Panels and Frame
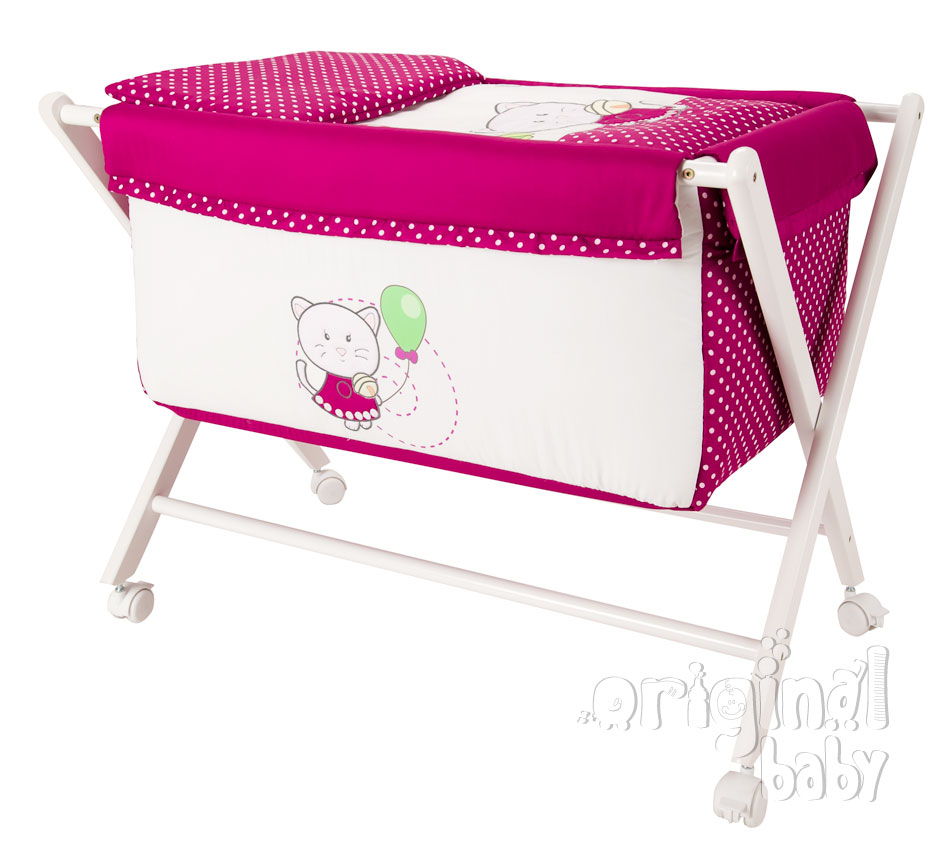
Place the wooden side panels into the frame following the instructions in the image. Then install the 85 cm cross beams at the bottom, with the holes facing the floor.

Step 4: Placing the Cover and Mattress
Place the crib cover on the frame using the 4 zippers along the sides. Insert the slatted frame (4mm MDF plate) into the structure, and finally place the anti-choking mattress.

Final Recommendations
- Do not change the mattress height: The maximum mattress height is indicated on the crib label. Always follow these instructions to avoid safety risks.
- Correct use: The crib should not be used once the baby can sit, stand, or kneel on their own.
- Warranty: Improper use, poor assembly, impacts, scratches, or breakages are not covered by the warranty.
Your baby's safety and comfort are our priority! Thank you for choosing Originalbaby.


